Dominus Knight No-Drill Magnetization Kit
Regular price
$42.99 USD
Regular price
Sale price
$42.99 USD
Unit price
per
Shipping calculated at checkout.
Couldn't load pickup availability
Recommended


Use our No-Drill Dominus Knight Magnetization kit to quickly and easily magnetize all of your Knights important options without drilling or putty work.
For the Questoris Knight kit click here.
For the Cerastus Knights, click here.
For the Armiger and War Dog kit, click here.
For the Chaos Knight Ruinator kit, click here.
For the Knight Destrier (Bellatus) kit, click here.
PROP 65 WARNING
WARNING: This product contains a chemical known to the State of California to cause cancer.

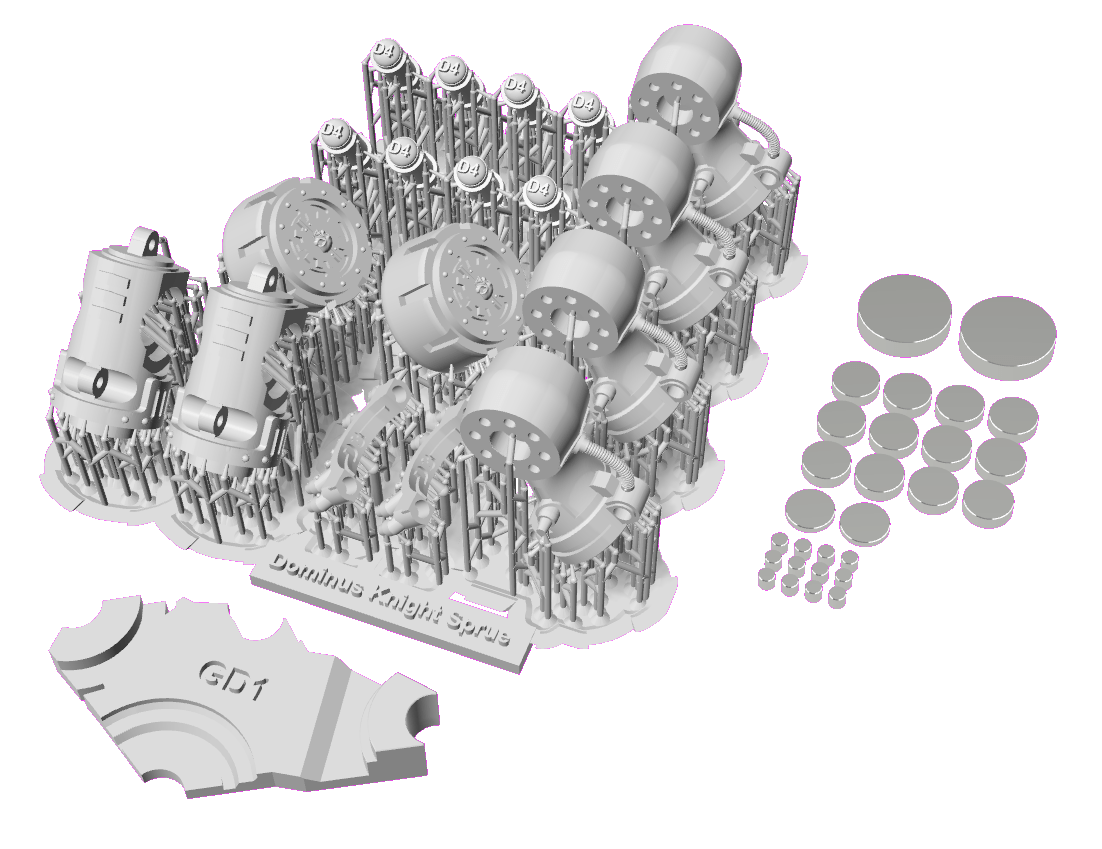
Instructions & Content
Click Here for Dominus Knight InstructionsCollapsible content
Collapsible content
Bestsellers
View all-
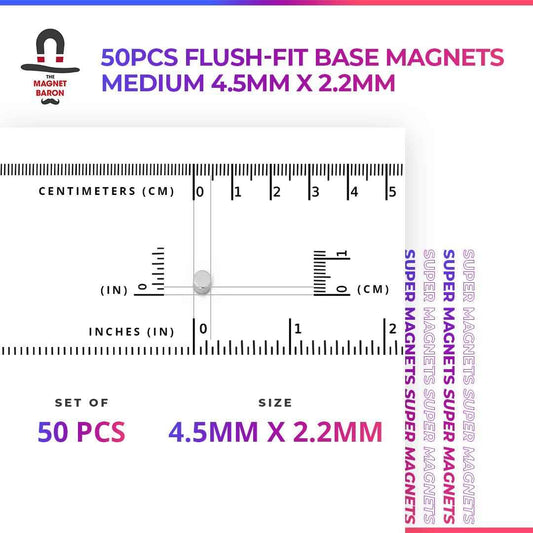
Flush-Fit Base Magnets for Warhammer 40K, Age of Sigmar & The Old World
Regular price From $17.99 USDRegular priceUnit price per -
Maxi-Cure Plus Super Glue For Magnets
Regular price From $4.99 USDRegular priceUnit price per -
Magnicators V2
Regular price $19.99 USDRegular priceUnit price per -
Questoris Knight No-Drill Magnetization Kit
Regular price $49.99 USDRegular priceUnit price per