2 Sets Armiger & War Dog No-Drill Magnetization Kit 2.0
Couldn't load pickup availability
Recommended


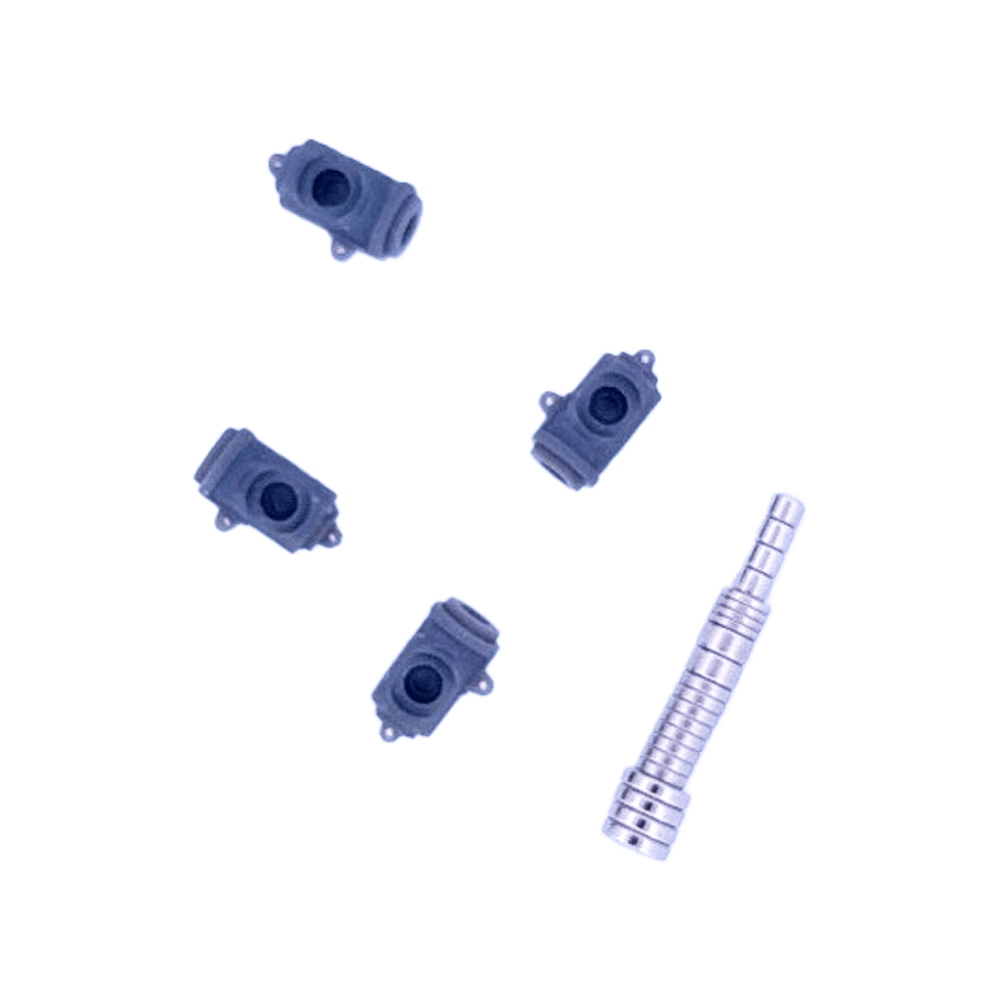
Magnetize 2 Imperial Armigers or Chaos War Dogs completely with our brand new no-drill magnetization kit! With custom arm pieces to hot swap you can magnetize all of the arm options you need without any drills or putty. For top options clip off the pegs. For those of you magnetizing the torso some drilling and putty may be required.
You receive enough magnets to magnetize 4 total arm options which would be enough to have your Helverin and Warglave or your Brigand into a Carnivore.
Chaos Knights Players
If you get ahold of additional weapon options from the Helverin box you will need 2 additional 6x1.5mm disc magnets to magnetize these weapon options using this kit per model, otherwise the War Dog box comes with all 4 possible options outside of the Helverin duel autocannons that you would get out of the Armiger box.
PROP 65 WARNING
WARNING: This product contains a chemical known to the State of California to cause cancer.
For the Questoris Knight kit click here.
For the Cerastus Knights, click here.
For the Chaos Knight Ruinator kit, click here.