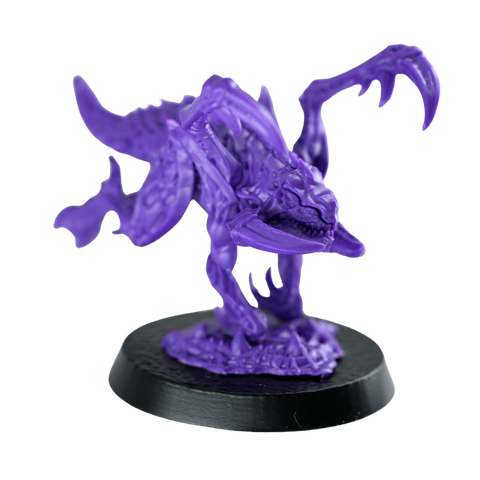
One plastic Zergling can be fielded three ways once the hip and wing joints carry magnets: as a Zergling, as a Swarmling, or with the Raptor wings on. The hip socket on part A4 holds the swap magnet, so the two body halves never get glued shut. Below are the picks for the kit, the drilling tools, and the base.
Zergling N52 Magnetization Kit
Two joints do all the work. The hip socket carries the swap magnet, so the left body half lifts away and the Swarmling half takes its place, and the lightly moulded spot on the side of the body accepts a Raptor wing. Zerglings A, B, D and E carry that wing spot. The Swarmling half has no wing mount, so it never gets drilled.
Every drill point is photographed in the Zergling Magnetization Kit Guide.
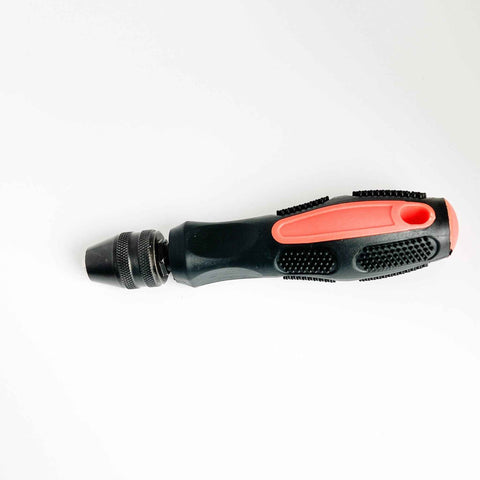
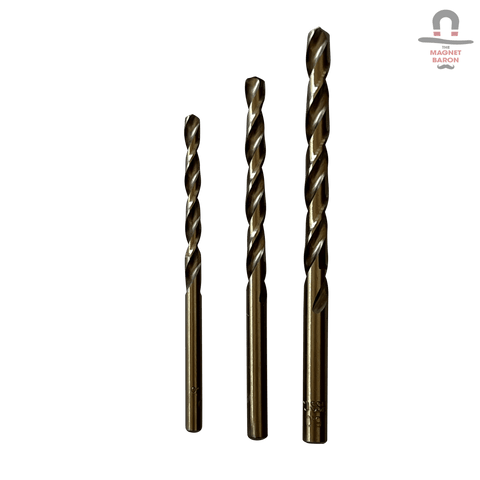
This build does involve drilling. The guide calls for 2mm, 3mm and 4mm bits, so the Large Pin Vise is the one tool that covers all three.
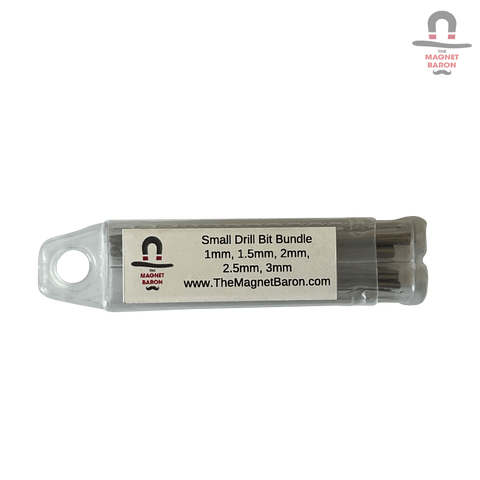
The 2mm and 3mm bits sit in the small metric bundle.
The 4mm bit comes in the medium metric bundle.
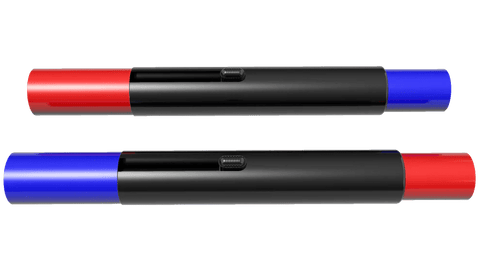
Polarity is the one thing worth slowing down for. Both body halves have to attract the same hip magnet, and a magnet cured in backwards means digging it out again. A Magnicator tells you which face you are looking at before the glue goes on.
Base Magnets for Zerglings
StarCraft: Tabletop Miniatures Game bases come with a recess moulded into the underside, sized for a 5mm disc. One 5mm x 2mm N52 disc and a drop of glue per base is all it takes, and the finished swarm then grips a steel sheet or a magnetic tray in transport instead of rattling loose.
 50pcs 5mm x 2mm (Approximately 3/16" x 1/16") Disc Magnets
Regular price
Price
$15.99