Skip to product information
1 of 5

1 Set Extra Large Flat Magnetic Flight Stand

Regular price $14.99 USD
Regular price Sale price $14.99 USD
Sale Sold out
Height

Recommended

Magnicators
$11.99
Super Gold Plus Acrylic Clear Dry Super Glue
$9.99
Maxi-Cure Plus Super Glue For Magnets
$4.99
Insta-Set Quick Set Superglue Spray
$6.99
Bases with Magnets-Warhammer
$5.99
Scenic Base Flat-Bottomed Self-Adhesive Magnets
$4.99
Cross Pattern Flyer Convertor for Magnetic Flight Stands - Extra Large (3/4") Stand
$5.99

Compatibility

Warhammer 40k

Imperial Guard Valkyrie

Space Marines:

Storm Raven

Fire Raptor

Storm Eagle

Sturdy, magnetic, and collapsable, these magnetic flight stands are made to help you transport and play with your models on the tabletop with their flight stands intact.

These are skimmer stands that won't snap in half for no reason.
With enough magnets to magnetize the top and bottom of the flight stands, you can collapse the whole setup flat and stow the model separately,.

Collapsible content

Kit Contents

Item Dimensions
Assembled Height

Medium: 64mm (2-9/16")

Tall: 114mm (4-9/16")

Acrylic Rod (Undrilled) 20mm (3/4") Diameter x 50mm Medium, 100mm Tall
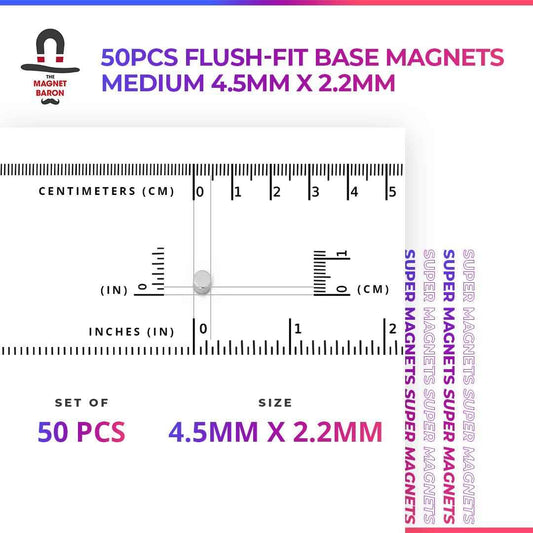
4 Disc Magnets  20mm x 3mm (3/4" x 1/8")
1 Rock Anchors Extra Large (20mm) Inner Diameter
1 Flight Stand Guide Extra Large 


Assembly Instructions

Flat Flying Stand Instructions Parts
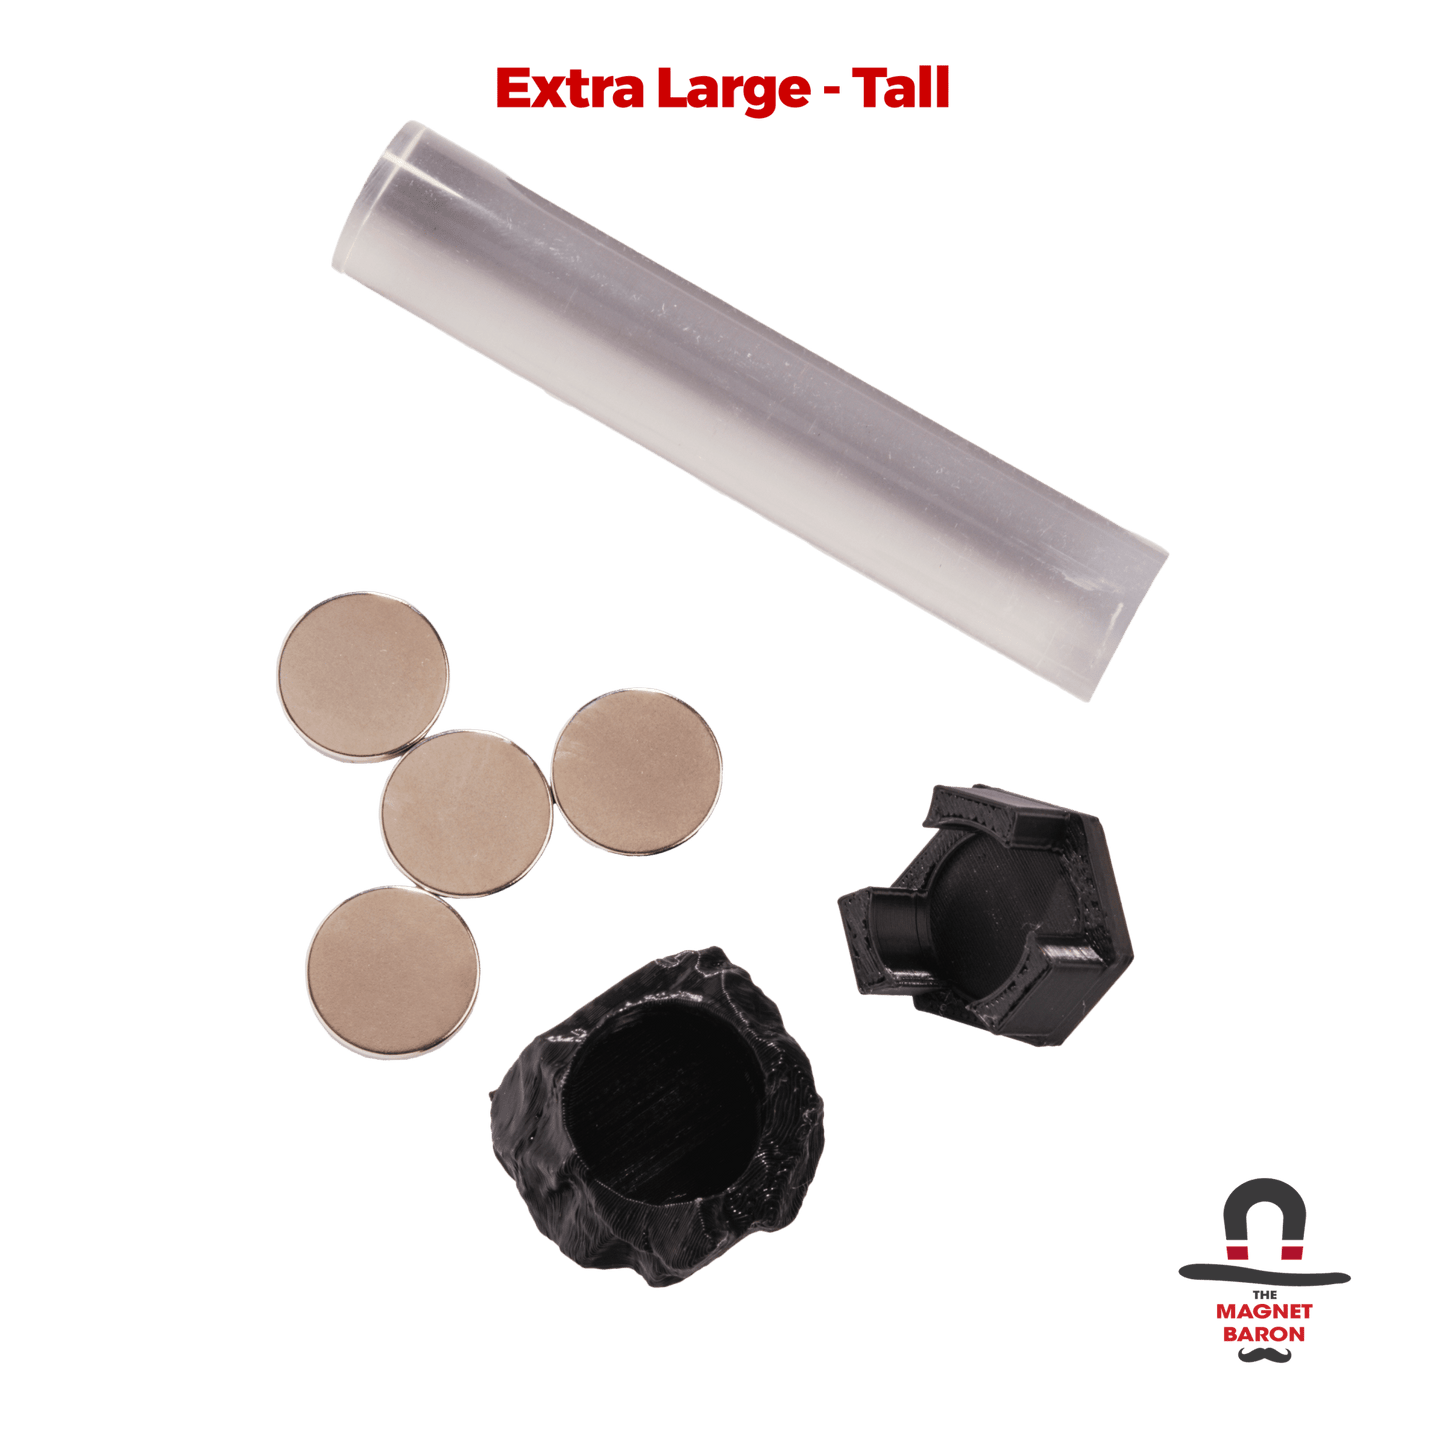
This is the full kit and parts you will need to use the magnetic flying stands.  From left to right:  Artificial rock/magnet holder, magnet alignment tool, 4x disk magnets (red and blue indicating polarity, try using the Magnicator), one clear acrylic rod.  You will need to supply one base and a model to magnetize.
Step 1: Glue the artificial rock to the base.  Glue one disk magnet inside the artificial rock.  Please note the polarity!  In this illustration, we are using "red up" polarity.
Flat Flight Stand Instruction Summary
Step 2:  Proceed from left to right: 
  • A: Insert one disk magnet into the magnet alignment tool.  Pay attention to polarity!  We are again using "red up" polarity.  Apply glue to the bottom of the acrylic rod.  (See detail picture following.)
  • B: Insert the acrylic rod into the magnet alignment tool and glue it to the magnet.
  • C: Once the glue has set, remove the acrylic rod and disk magnet from the magnet alignment tool.  You can use a pin, paper clip (shown), or other tool to help remove the pieces from the tool.  There is a hole through the center of the tool to facilitate this.
  • D: Rotate the acrylic rod & magnet such that the empty side is again facing the magnet alignment tool.
  • E: Insert another disk magnet into the alignment tool and pay attention to polarity.  Using "red up" polarity again allows you to use the rod & magnet assembly in either orientation.
  • Perform steps A through C again.
Step 2 (detail):  When inserting the disk magnet into the magnet alignment tool, it will recess slightly into the base of the tool.  The point where the rod and magnet touch should not be touching the tool, so hopefully no glue will cause the tool to be glued to either piece.  You may apply some light force to bend the "fingers" of the tool to help remove the parts from the magnet alignment tool.


Flat Instructions Model

Step 3:  Turn your model over, and glue the fourth disk magnet to the middle of the model, approximately under the center of gravity.  Pay attention to the polarity again!  Using "red up" polarity here allows the model to be attracted to either end of the acrylic rod & magnet assembly.

Flat Flight Stand Instructions Final

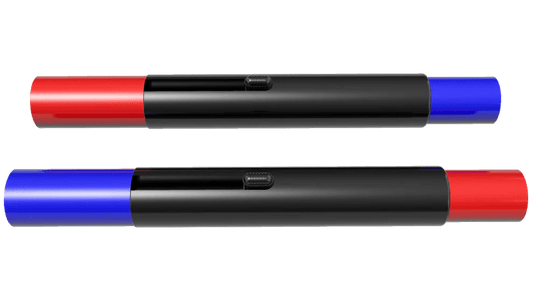
Final:  This is a completed flight stand magnetization kit.  You can see how the care in tracking the magnet polarity has allowed the parts to come together.  From the top to the bottom, the polarity of the four magnets are Blue-Red-Blue-Red to Red-Blue-Red-Blue.


1 of 4