Reaver Titan Magnetization Kit
Regular price
$69.99 USD
Regular price
Sale price
$69.99 USD
Unit price
per
Shipping calculated at checkout.
Couldn't load pickup availability
Recommended

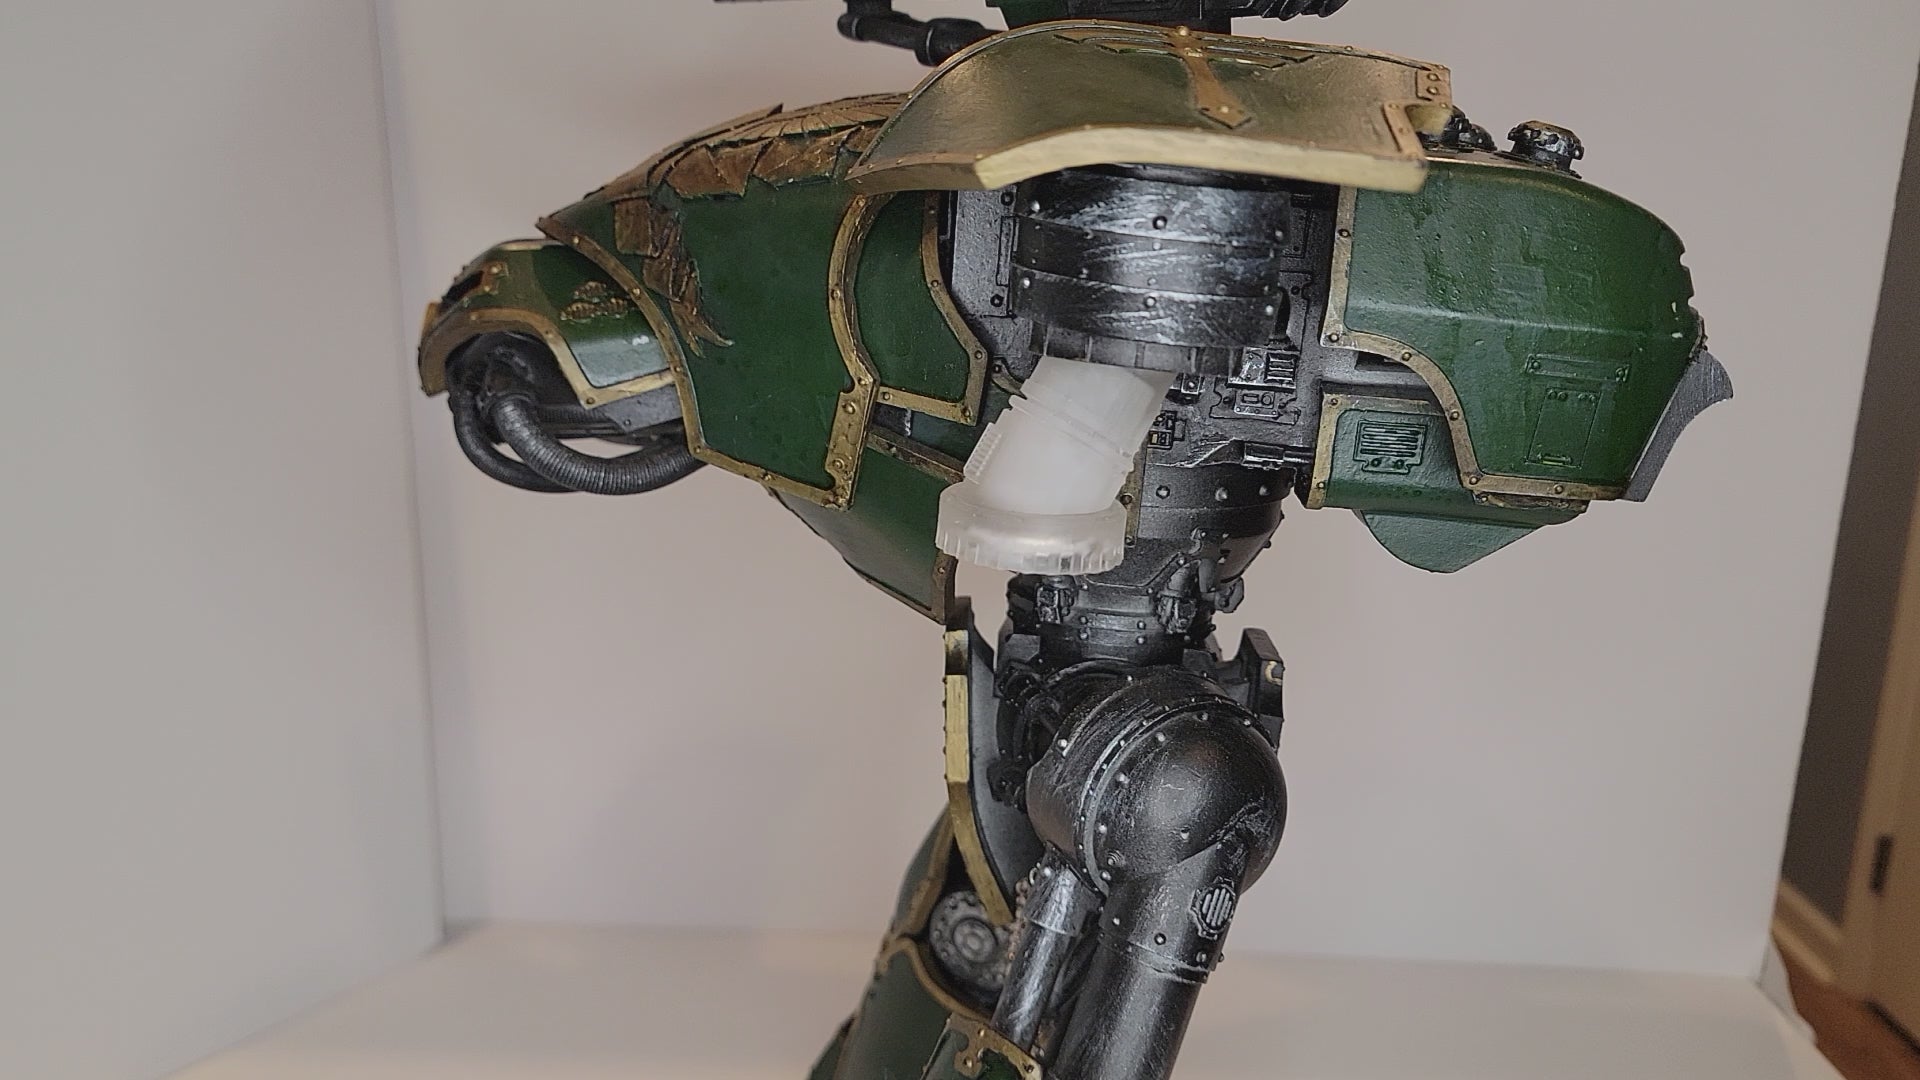
Get your Reaver Titan weapon options ready to swap all the options.
You will need one of the body kits to be able to mount the options onto the Reaver. Once you have the body parts you can get any additional gun and melee arm options. The Body and Gun Arms option allows you to magnetize 2 gun arms onto your Reaver Titan.
Contents
Body & 4 Gun Arms
2 Inner Spacer Ring
2 Outer Spacer Ring
1 Magnet Guide Ring
2 Gun Upper Arm Replacements
2 Bolts (1/4-20x3/4")
2 Washers (5/8" Outer x 1/4" Inner)
6pcs 25mm x 3mm Disc Magnets
1 Mele Arm Contents
1 Melee Upper Arm Replacements
1 Bolts 1/4-20x1-1/2"
1 Washer (5/8" Outer x 1/4" Inner)
2 Cones
PROP 65 WARNING
WARNING: This product contains a chemical known to the State of California to cause cancer.


Instructions & Contents
Click here for Reaver Titan InstructionsBestsellers
View all-
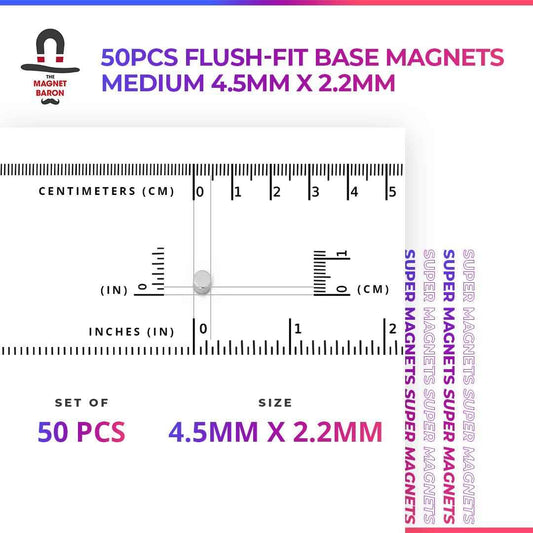
Flush-Fit Base Magnets for Warhammer 40K, Age of Sigmar & The Old World
Regular price From $17.99 USDRegular priceUnit price per -
Maxi-Cure Plus Super Glue For Magnets
Regular price From $4.99 USDRegular priceUnit price per -
Magnicators V2
Regular price $19.99 USDRegular priceUnit price per -
Questoris Knight No-Drill Magnetization Kit
Regular price $49.99 USDRegular priceUnit price per