Heavy Weapon Completion Kit
Regular price
$19.99 USD
Regular price
Sale price
$19.99 USD
Unit price
per
Shipping calculated at checkout.
Couldn't load pickup availability
Recommended

Built an Astra Militarum Heavy Weapon squad and have tons of extra bits leftover?
Wouldn't it be great if someone made a kit that allowed you to get the rest of the options out of the kit without wasting tons of plastic?
Looks like you're in the right place.
Finish up building all of the different weapon options in the Heavy Weapon kit.
You will need 12 additional 50mm bases along with this kit.
Check out the instructions below.


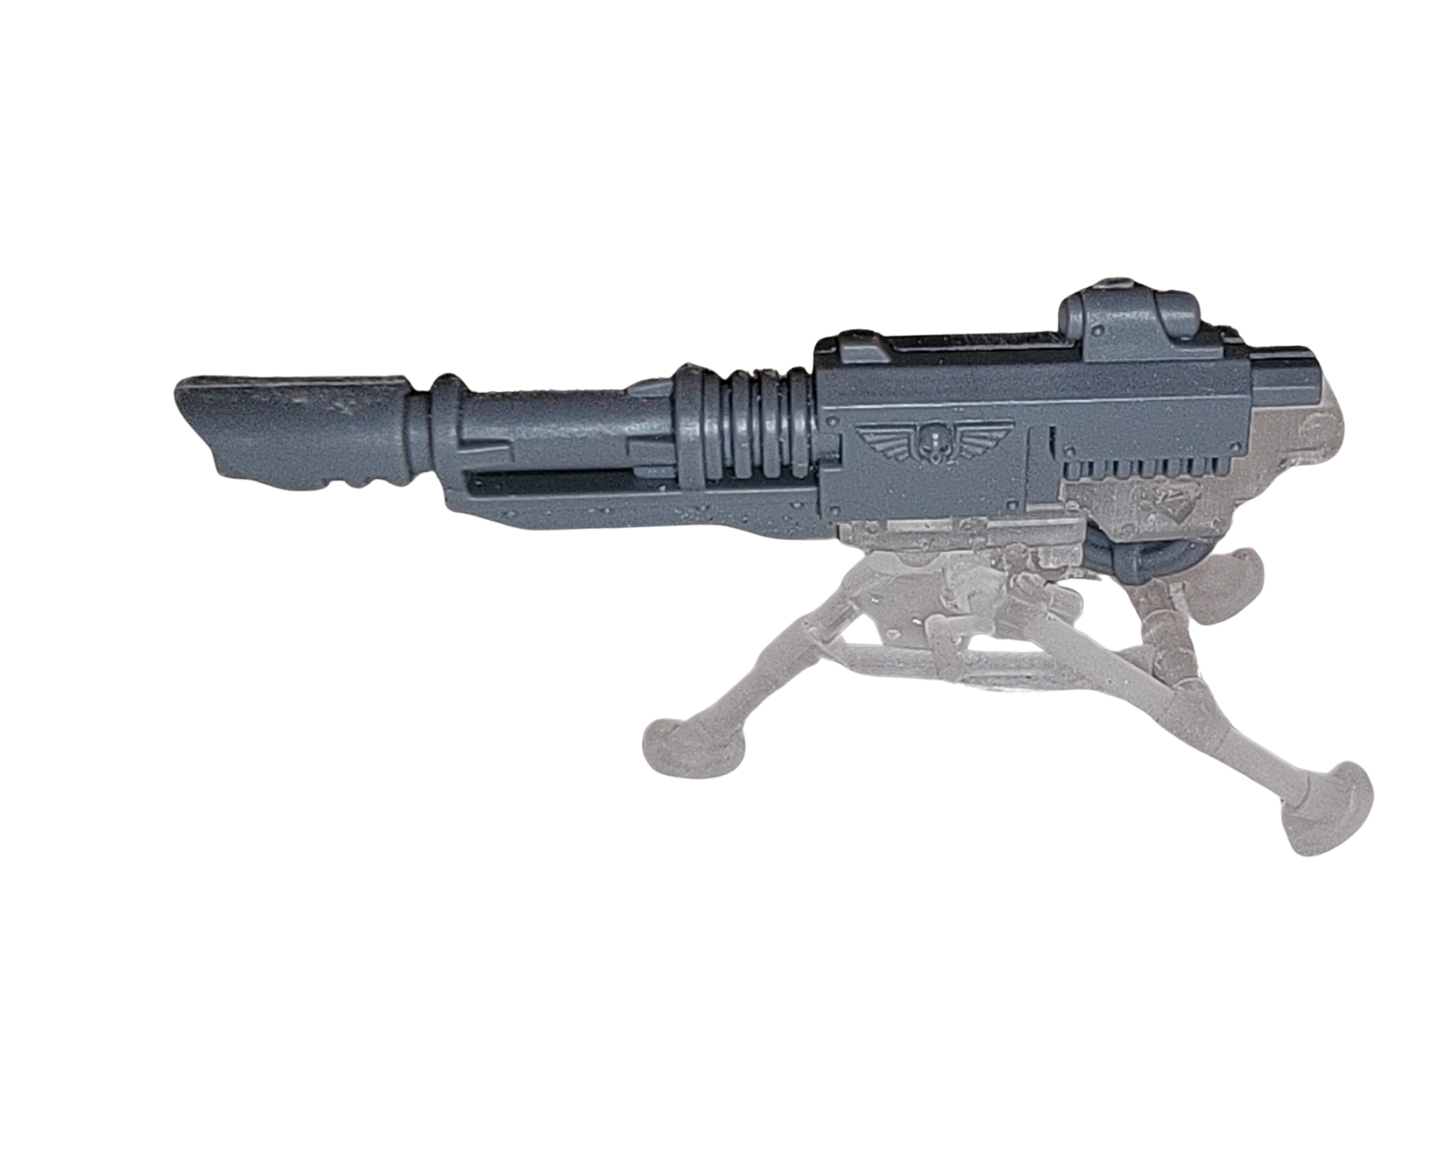
Instructions & Contents
Click Here for Heavy Weapons Kit InstructionsBestsellers
View all-
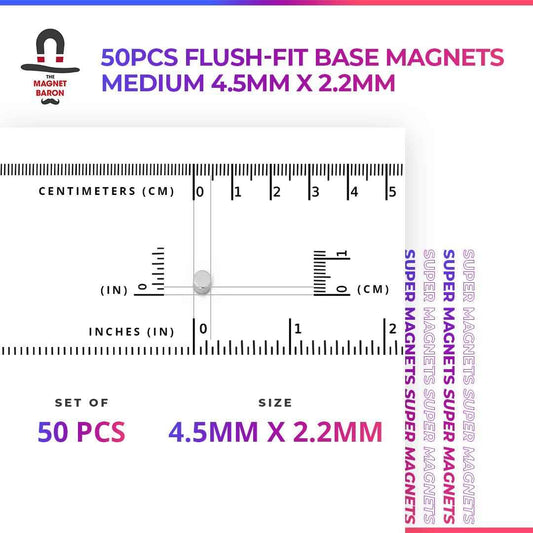
Flush-Fit Base Magnets for Warhammer 40K, Age of Sigmar & The Old World
Regular price From $17.99 USDRegular priceUnit price per -
Maxi-Cure Plus Super Glue For Magnets
Regular price From $4.99 USDRegular priceUnit price per -
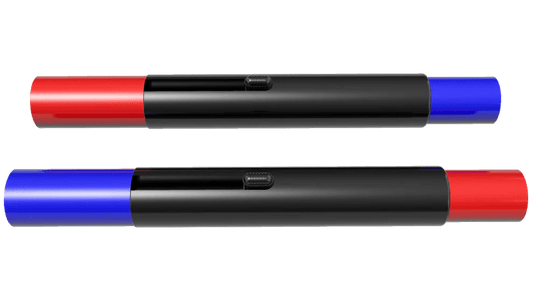
Magnicators V2
Regular price $19.99 USDRegular priceUnit price per -
Questoris Knight No-Drill Magnetization Kit
Regular price $49.99 USDRegular priceUnit price per