Skip to product information
1 of 6

Adeptus Titanicus 2x Warhound Magnetization Kit

Regular price $14.99 USD
Regular price $19.99 USD Sale price $14.99 USD
Sale Sold out

Recommended

Magnicators
$11.99
Maxi-Cure Plus Super Glue For Magnets
$4.99
Insta-Set Quick Set Superglue Spray
$6.99
100pcs 3mm x 2mm (1/8" x 1/16") Disc Magnets
$13.99

Magnetize 2 Legion Imperialis/Adeptus Titanicus Warhounds weapon options with this no-drill magnetization kit.


You can magnetize 40 total weapon optiosn with this kit, which is 10 per arm per Warhound.
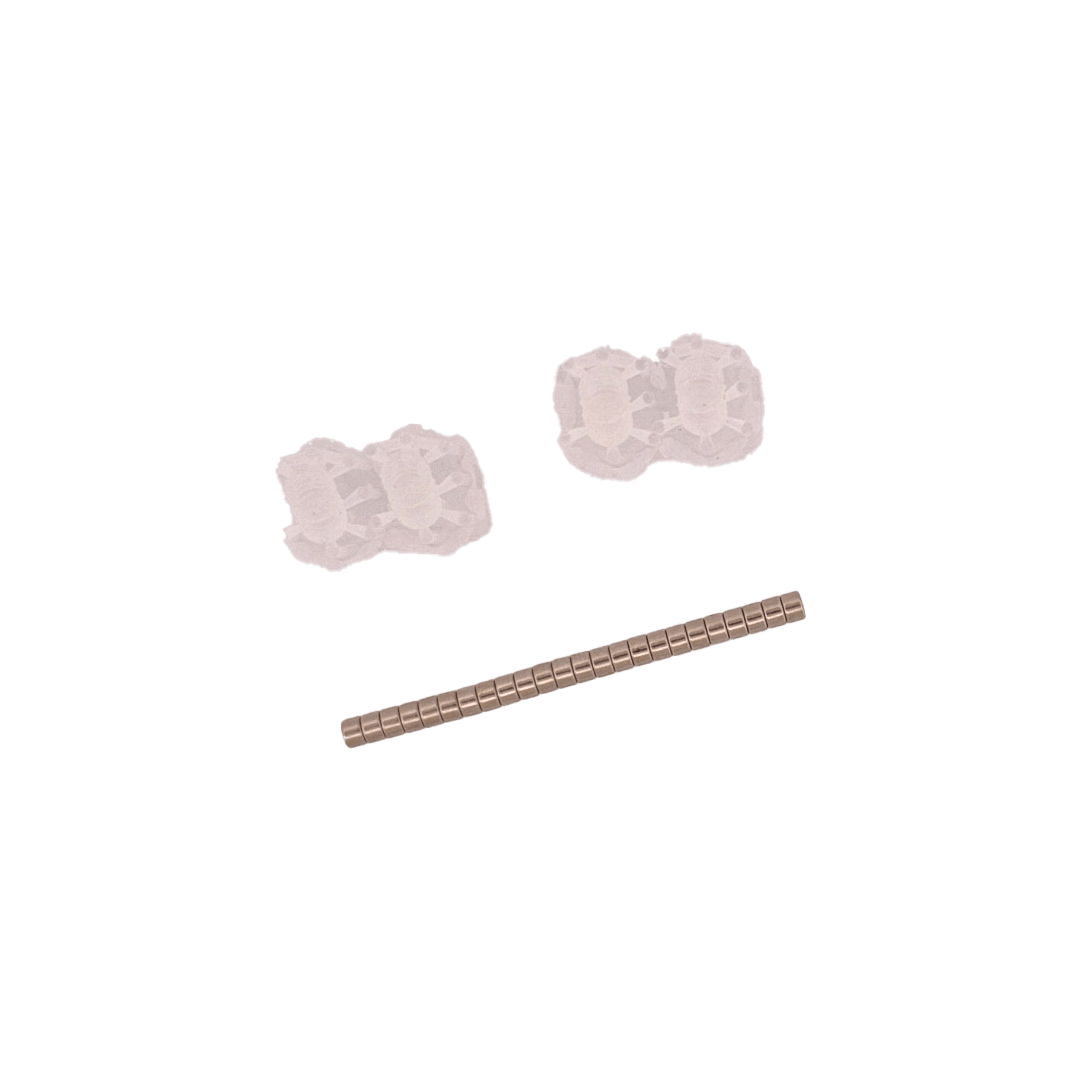
 

Contents

4x Arm replacement bits

24x 3mm x 2mm Disc Magnets


Collapsible content

Assembly Instructions

Warhound Magnetization Kit Instructions

This kit allows you to future-proof your 40k-scale Warhound Titan.  There is a bolt on both shoulders and a ball & socket at each arm weapon.  You may be asking yourself, "Why do I need the bolt at the shoulder?  Can't I just glue it in and use the magnet to switch out the weapons?"

As often in life, the answer is "Yes, but..."

If you buy a new gun that is either much larger or much smaller than the one you had originally, you might have to pivot at the shoulder to keep the center of balance at the right place.  It would be awful to bring out your new gun, only for your very expensive model to tip off of the table and onto the floor.

Another future-proofing example:  The Apocalypse Missile Launcher included in the Legions Imperialis set does not appear to use the same arm mount as all of the previous weapons.  If GW puts out that weapon in 40k scale, you will not be able to use it if you have glued the arms at the shoulders.

Those examples represent many future "what if" scenarios, so if you are only interested in gluing the arms at the shoulder, you can ignore any steps with the FP label at the end of the line. 

Warhound Arm Kit

This is the Warhound titan arm magnetization kit, for one arm.  Colors will be different. Duplicate for the other arm.
From left to right: 3D printed upper arm replacement piece, shoulder spacer ring, bolt, washer, ball bearing, 12mm x 1mm disk magnet, 20mm x 3mm ring magnet with a recessed "cup" on one side.  (The magnet polarity does not matter in this case.)  The bolt will work with a 7/16" nut driver or socket. 

Warhound Resin Pieces

The resin parts that we will be modifying.  From left to right: Titan shoulder piece, shoulder cap (usually marked with fancy, faction-specific propaganda), and a weapon.  Repeat for the other shoulder.  FP

Warhound Arm Replacement Piece

Glue the ball bearing to the bottom of the upper arm replacement piece.  We recommend using the strongest glue that you have such as super glue, 5 minute epoxy, or ripperjack secretions.

Warhound Shoulder Cap

We need to add a spacer to the Warhound shoulder for the bolt.  Add the 12mm x 1mm magnet to the bottom of the shoulder cap, and the shoulder ring around that.  FP

Warhound Weapon Magnet Insertion

Insert the 20mm x 3mm ring magnet (with the cup side facing up!) into the recess on the Warhound weapon.  Fasten it using the strongest glue that you have, such as 5 minute epoxy or super glue reinforced with green stuff.

Warhound Shoulder

Feed the bolt into the washer, through the shoulder, and into the upper arm replacement piece.  FP  Non-FP: Simply glue the top of the arm piece into the socket under the shoulder.
The magnet on the shoulder cap should connect to the top of the bolt. If it does not, then it is possible that the spacer ring is too tall. You can solve this by either sanding/filing the ring so it is shorter or by adding one or more washer.  FP

Warhound Weapon Full

The ball bearing is attracted to the magnet in the gun recess.

Warhound Weapon Cross Section

 Once your Warhound Titan is set up like this, to add a new weapon, all you need is an additional 20mm x 3mm ring magnet!

 It is possible that your weapon is too front heavy to keep its barrels from pointing downward.  There are a few approaches to solve this:

  • Sometimes the magnet or ball bearing gets glue on the mating surfaces.  This will push the parts away from each other enough to reduce the magnet's pull force.  Try to clean those parts.
  • You can try to carefully drill out the barrels of the longer guns, such as the twin turbo laser or the plasma blastgun.  The Vulcan megabolter has some thick blocks on the front underside of the gun.  You can carefully drill some holes from these blocks and simply cover the holes with a piece of card.
  • You can add weight to the back of the guns.  Washers, coins, nuts, or anything metal that can be painted or covered over.
1 of 4