Skip to product information
1 of 7

3 Sets Medium Posable Magnetic Flight Stands

Regular price $22.99 USD
Regular price Sale price $22.99 USD
Sale Sold out
Height

Recommended

..

Compatibility

Warhammer 40k

Short

Dark Angels Sammael on Corvex Jetbike

Medium

Tau Crisis Suits

Age of Sigmar

Idoneth Deepkin Allopex

Legion Imperialis/Aeronautica Imperialis

Thunderhawk

Posable, collapsable, sturdy, these kits are your complete solution to make magnetic flight stands for your jetpack and jetbike infantry.

With thick clear flight stands and the highest grade N52 Neodymium Super Magnets, you won't ever have a snapped unusable flight stand.

The Posable line of flight stands have a magnetic ball and socket joint allowing you to swoop and pivot your models left right forward and backwards. 

Collapsible content

Kit Contents

Item Dimensions
Assembled Height

Short: 31mm (1-1/4")

Medium: 48mm (1-15/16")

Tall: 116mm (4-5/8")

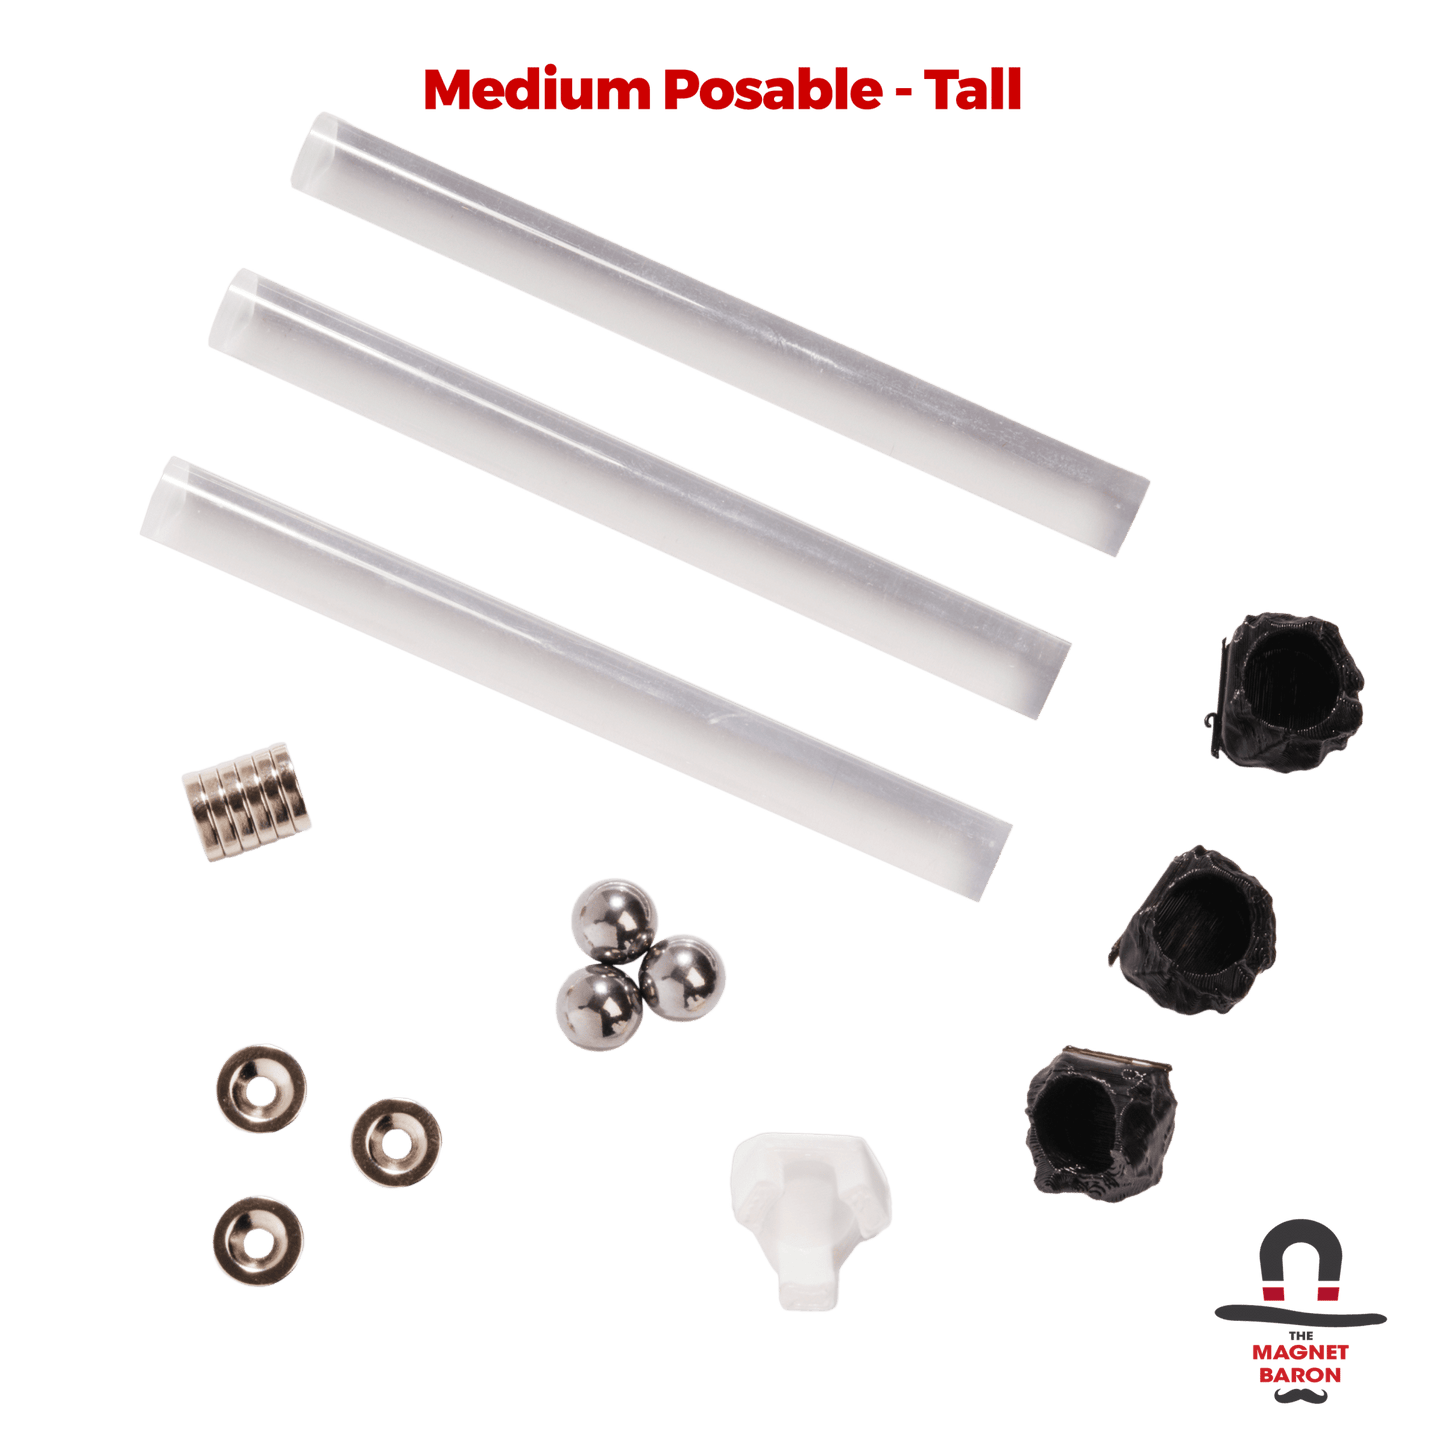
3 Acrylic Rods (Drilled) 10mm (3/8") Diameter x 17mm short, 40mm Medium, or 100mm Tall
6 Disc Magnets  10mm x 3mm (3/8" x 1/16")
3 Countersunk Ring Magnets 10mm x 3mm (3/8" x 1/8")
3 Ball Bearings 10mm Diameter
3 Rock Anchors Medium (10mm Inner Diameter)
1 Flight Stand Guide Medium (10mm Inner Diameter)


Assembly Instructions

Posable Flight Stand Kit

This is the full kit and parts you will need to use the posable magnetic flying stands.  From left to right:  Artificial rock/magnet holder, magnet alignment tool, 2x disk magnets (red and blue indicating polarity, try using the Magnicator), one clear acrylic rod with a recess on one size, a ball bearing, and a ring magnet with a recess on one side.  You will need to supply one base and a model to magnetize.

Base and Magnet Holder

Step 1: Glue the artificial rock to the base.  Glue one disk magnet inside the artificial rock.  Please note the polarity!  In this illustration, we are using "red up" polarity.

Magnet Alignment Procedure

Step 2:  Proceed from left to right: 
  • A: Insert one disk magnet into the magnet alignment tool.  Pay attention to polarity!  We are again using "red up" polarity.  Apply glue to the bottom of the acrylic rod.  (See detail picture following.)
  • B: Insert the acrylic rod into the magnet alignment tool, ensure that the recess on the rod is on top, and glue it to the magnet.
  • C: Once the glue has set, remove the acrylic rod and disk magnet from the magnet alignment tool.  You can use a pin, paper clip (shown), or other tool to help remove the pieces from the tool.  There is a hole through the center of the tool to facilitate this.
  • D: Glue the ball bearing into the recess on top of the acrylic rod.
  • E: Finished

Alignment Tool DetailStep 2 (detail):  When inserting the disk magnet into the magnet alignment tool, it will recess slightly into the base of the tool.  The point where the rod and magnet touch should not be touching the tool, so hopefully no glue will cause the tool to be glued to either piece.  You may apply some light force to bend the "fingers" of the tool to help remove the parts from the magnet alignment tool.

Model with Magnet

Step 3:  Turn your model over, and glue the ring magnet to the middle of the model, approximately under the center of gravity.  Ensure that the recess of the magnet is facing outward, away from the model.  This will allow the ball bearing to be precisely attached to the center of the magnet and model.

Posable Flight Stand Finished Detail

Final:  This is a completed flight stand magnetization kit.  You can see how the care in tracking the magnet polarity and the recesses in the ring magnet and rod has allowed the parts to come together.

You can also store the model more easily, since the base, rod, and model can be separated.

Group Shot Posable Flight Stands

Here are some examples of the poses you can do with these flight stands.  They are very dynamic.

1 of 4