
Solar Auxilia Rapier Magnetization Guide
The 2026 Solar Auxilia Rapier gun batteries are built for modularity, so the weapons swap easily once the parts are magnetized. This guide covers both kits, the Fire Support Battery and the Direct Fire Battery, using off-the-shelf magnet packs. No drilling is needed, because the parts already have holes sized for the magnets.

Magnets you'll need
| Kit | Magnet | Per box | Used on |
|---|---|---|---|
| Fire Support Battery | 3mm × 1mm disc | 6pcs | Weapon mounts (pre-existing holes) |
| Direct Fire Battery | 5mm × 2mm disc | 16pcs | Weapon assemblies and carriage pivots |
All magnets are N52 neodymium.
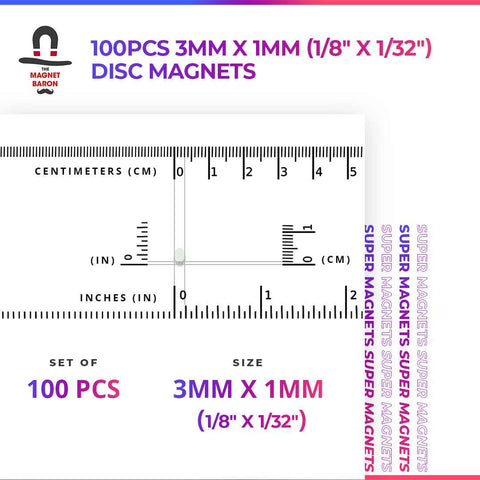 100pcs 3mm x 1mm (Approximately 1/8" x 1/32") Disc Magnets
Regular price
Price
$12.99
 50pcs 5mm x 2mm (Approximately 3/16" x 1/16") Disc Magnets
Regular price
Price
$15.99
Tools you'll need
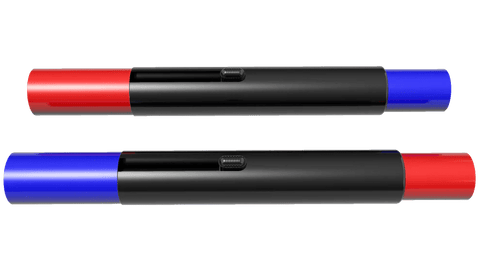
- Magnicators — keep every magnet's polarity consistent so the weapons attract instead of repel
Contents
Rapier Fire Support Battery
This kit builds two gun carriages, each of which can be configured to fire either a Quad Launcher or a Mole Mortar. One box needs 6pcs 3x1mm N52 disc magnets.
Three parts on each carriage have pre-existing holes that each perfectly fit a 3mm × 1mm disc magnet: part 40 (Step 1a) and both part 46s (Step 5). Push each magnet in as flush as possible.
To keep the polarity compatible, set one pole to the weapon and the other to the carriage body; we use red to the weapon and blue to the body.

The Fire Support weapon options and gun carriage.

Magnetization of the Mole Mortar.

Magnetization of the Quad Launcher.

Magnetization of the gun carriage.

A magnetized Fire Support weapon.

Quad Launcher mounted on the gun carriage.
Rapier Direct Fire Battery
This kit builds two gun carriages, each of which can be configured to fire a Gravis Heavy Bolter battery, a Gravis Multi-laser array, or a Laser Destroyer. One box needs 16pcs 5x2mm N52 disc magnets.
Many of the parts have pre-existing holes that each perfectly fit a 5mm × 2mm disc magnet. Each completed weapon assembly takes two, and the pivot on the gun carriage takes two; in practice you replace both part 60s in Step 8a & 8b with a stack of two 5mm × 2mm disc magnets. Push each magnet in as flush as possible.
With this many magnets it helps to mark them. We put a small dot on the parts where the blue-polarity magnets go; where there is no dot, the red polarity goes. On the weapon pivot, the side with the compatible polarity is the one with the holes (female) and the notch in the lower right.

Dots on the left side of the weapon assemblies; insert blue polarity to this side.

No dot on these sides; insert red polarity to this side.

The weapon assemblies with magnets installed.

Magnetization polarity of the Gravis Multi-laser array.

Pivot polarity; note the notch's orientation.

The Gravis Heavy Bolter battery installed in the Rapier carriage.

The Direct Fire weapon options, magnetized and ready to swap.

A completed Direct Fire Rapier.
Final assembly
After the magnets are installed, complete assembly of the models as usual. Every weapon option is now swappable at any time.