
Empire Knights are one of the most versatile cavalry kits in The Old World. The box gives you options for lances, swords, shields, a musician, standard bearer, and champion — and you'll want access to all of them depending on your list. Magnetizing saves you from buying multiple boxes.
What You're Working With
Empire Knights sit on 25x50mm rectangular cavalry bases. Each knight has a separate right arm (weapon hand), left arm (shield or reins), and head. The rider is a separate piece from the horse.
Key weapon options:
- Lance (for the charge bonus)
- Sword / hand weapon
- Shield (left arm swap)
- Command group: musician instrument arm, standard bearer arm, champion head/weapon
Magnetizing the Bases
Cavalry bases need magnets for movement tray use. On 25x50mm bases, use Medium (4.5x2.2mm) flush-fit magnets — two per base.
Place one magnet near each end of the rectangular base, roughly 10mm from each short edge. This gives good stability on the movement tray and keeps the model from rocking.
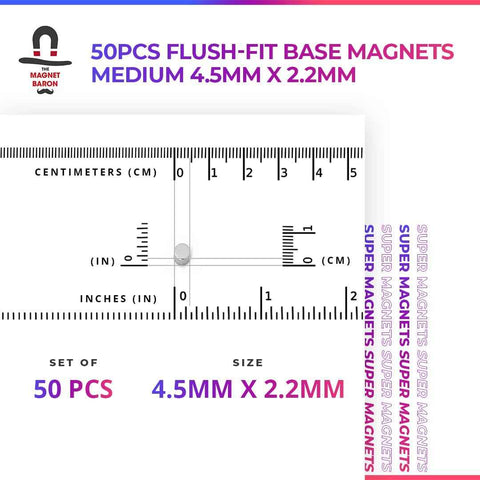 Flush-Fit Base Magnets for Warhammer 40K, Age of Sigmar & The Old World
Regular price
Price
$17.99
Make sure all your magnets face the same polarity direction. Mark the top of every magnet with a sharpie dot before gluing. One wrong magnet in a unit of 10 knights means that model repels off the tray instead of sticking to it.
Magnetizing Weapon Arms
The shoulder joint where the right arm meets the torso is your magnetization point. Drill into the torso socket and the arm ball joint.
2mm x 1mm magnets are the right size here. The arm joints on Empire Knights are small — a 3mm magnet would require too much material removal and weaken the join.
- Drill a 2mm hole into the shoulder socket on the torso, about 1mm deep.
- Glue a 2mm x 1mm magnet into the socket, flush with the surface. Note the polarity.
- Drill matching 2mm holes into each weapon arm at the ball joint.
- Glue magnets into each arm with the correct polarity (attracting, not repelling).
- Test fit before the glue sets.
 100pcs 2mm x 1mm (Approximately 1/16" x 1/32") Disc Magnets
Regular price
Price
$11.99
For the shield arm (left side), the same process works. Drill into the left shoulder socket and each left arm option.
Command Group Options
For the champion, musician, and standard bearer, magnetize the same shoulder joints. This lets you pull a regular knight out of the front rank and drop in a command model when your list calls for it.
The standard bearer arm is heavier than the others due to the banner. Make sure your magnet is fully seated and cured before handling — give it a full 24 hours with super glue, or use a tiny drop of epoxy for extra hold.
Movement Tray Integration
A standard Empire Knight unit runs 5 wide in one or two ranks. Your movement tray should have either embedded magnets (matching polarity to the base magnets) or a steel sheet glued to the tray surface.
Steel sheet is the easier option for cavalry trays. Cut it to fit the tray interior and glue it down. Every magnetized base will grab onto it without needing to align individual tray magnets.
Recommended Magnets
- Bases: Medium (4.5x2.2mm) flush-fit magnets, 2 per cavalry base
- Weapon arms: 2mm x 1mm disc magnets
Warhammer: The Old World, Empire of Man, and all associated marks, logos, names, races, characters, and likenesses are trademarks or registered trademarks of Games Workshop Limited. The Magnet Baron is not affiliated with, endorsed by, or sponsored by Games Workshop. Product recommendations on this page are independent and intended for hobbyist use.